There are times when you want to use two windows from any app side by side. While you can split screen on Windows without breaking a sweat, but things can get a little complicated on Mac. Using a split screen on Mac or any other operating system can improve your workflow and get things faster.
macOS didn’t let users split screens with ease staring macOS Mojave and Catalina. The good news — it’s much easier if you’re using macOS Catalina and above. There are two ways to split screen on Mac — using Split View and using a third-party app. In this guide, we will show you how to split-screen on Mac in two ways.
How to Split Screen on Mac (2021)
There are two ways to split screen on Mac. macOS offers a built-in method to tile windows side-by-side called Split View. But if you want to use something like Snapping on Windows, you can do the same using a third-party app on macOS.
1. Using Split View on macOS
With Split View on macOS, you can use two windows side-by-side without “actually” resizing them. Things have changed a little bit with the latest releases of macOS. As a result, entering Split View mode on Mac will be different macOS Mojave and macOS Catalina or later versions.
Enter Split View on macOS Catalina, Big Sur, and later
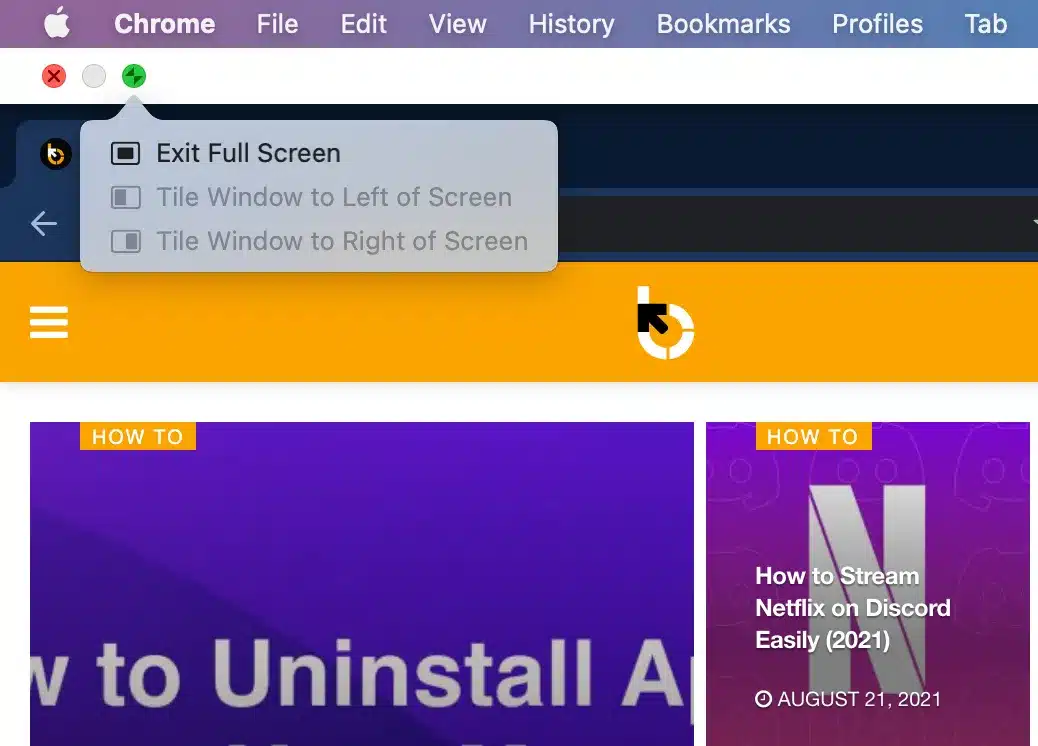
If you’re running on macOS Catalina or later releases, here’s how to enter Split View mode:
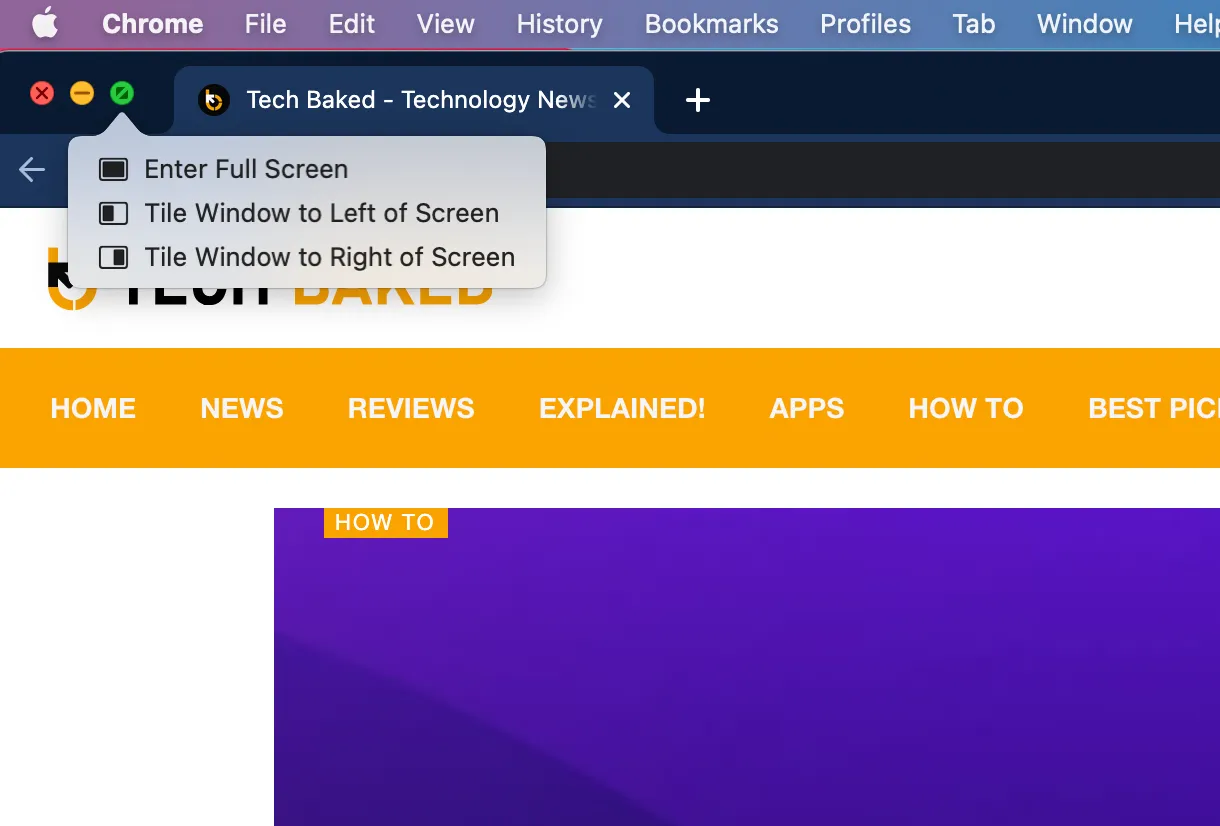
- Hover your moise pointer over the full-screen button
 on the top-left corner of the app window. Alternatively, you can also click and hold the button to see options.
 - Select “Tile Windows to Left of Screen” or “Tile Window to Right of Screen” from the options. The Window should fill either side of the screen depending on your choice.

- Click on other Window on the other side to start using the two apps side-by-side.

Split View on macOS Mojave, High Sierra, Sierra, or El Capitan
If you’re running macOS Mojave or earlier releases of macOS, follow these steps to enter Split View mode:
- Click and hold the full-screen button
 on the top-left corner of the app window.
 - Once you hold the button, the window will shrink and you can start dragging the window to left or right to tile the window.
- Release the button, and select other Window on the other side to start using two apps side-by-side.
Can’t enter Split View
Although macOS enables Split View out of the box, you might have disabled it unknowingly. And for the same reason, you might not enter Split View mode on your Mac.
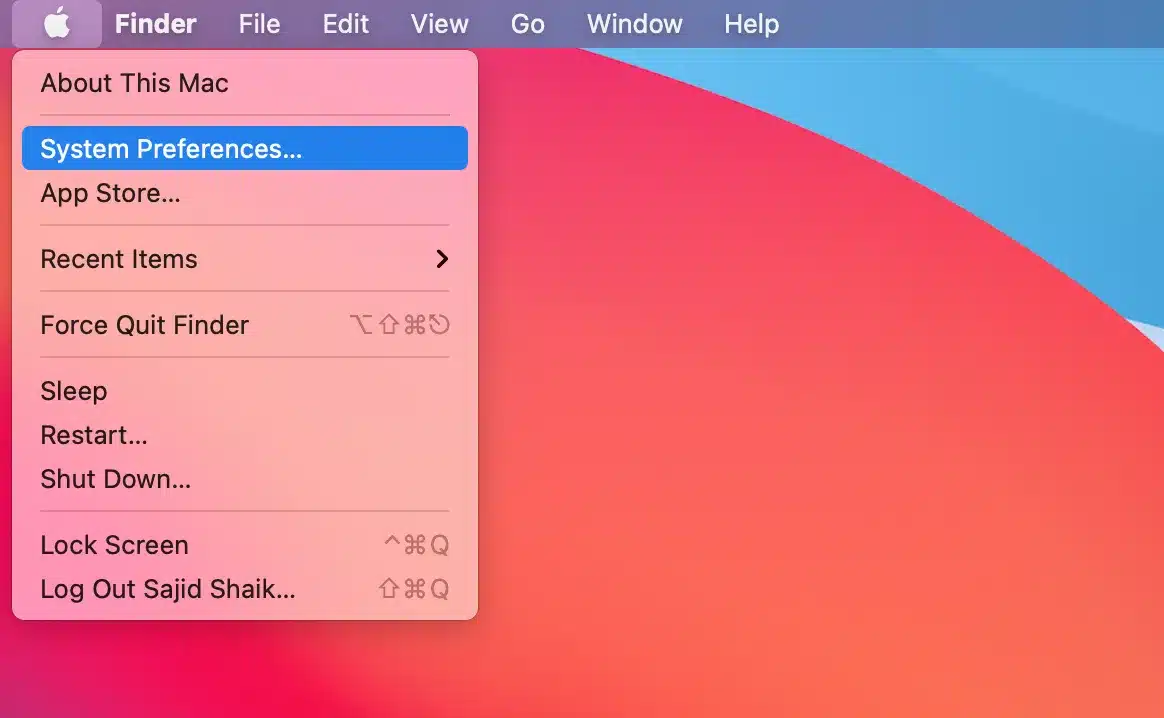
If you aren’t able to enter the Split View mode on macOS, then follow these steps below:
- Click on the Apple logo in the menu bar.
- Select System Preferences from the sub-menu.

- Click Mission Control and check the “Displays have Separate Spaces” checkbox.


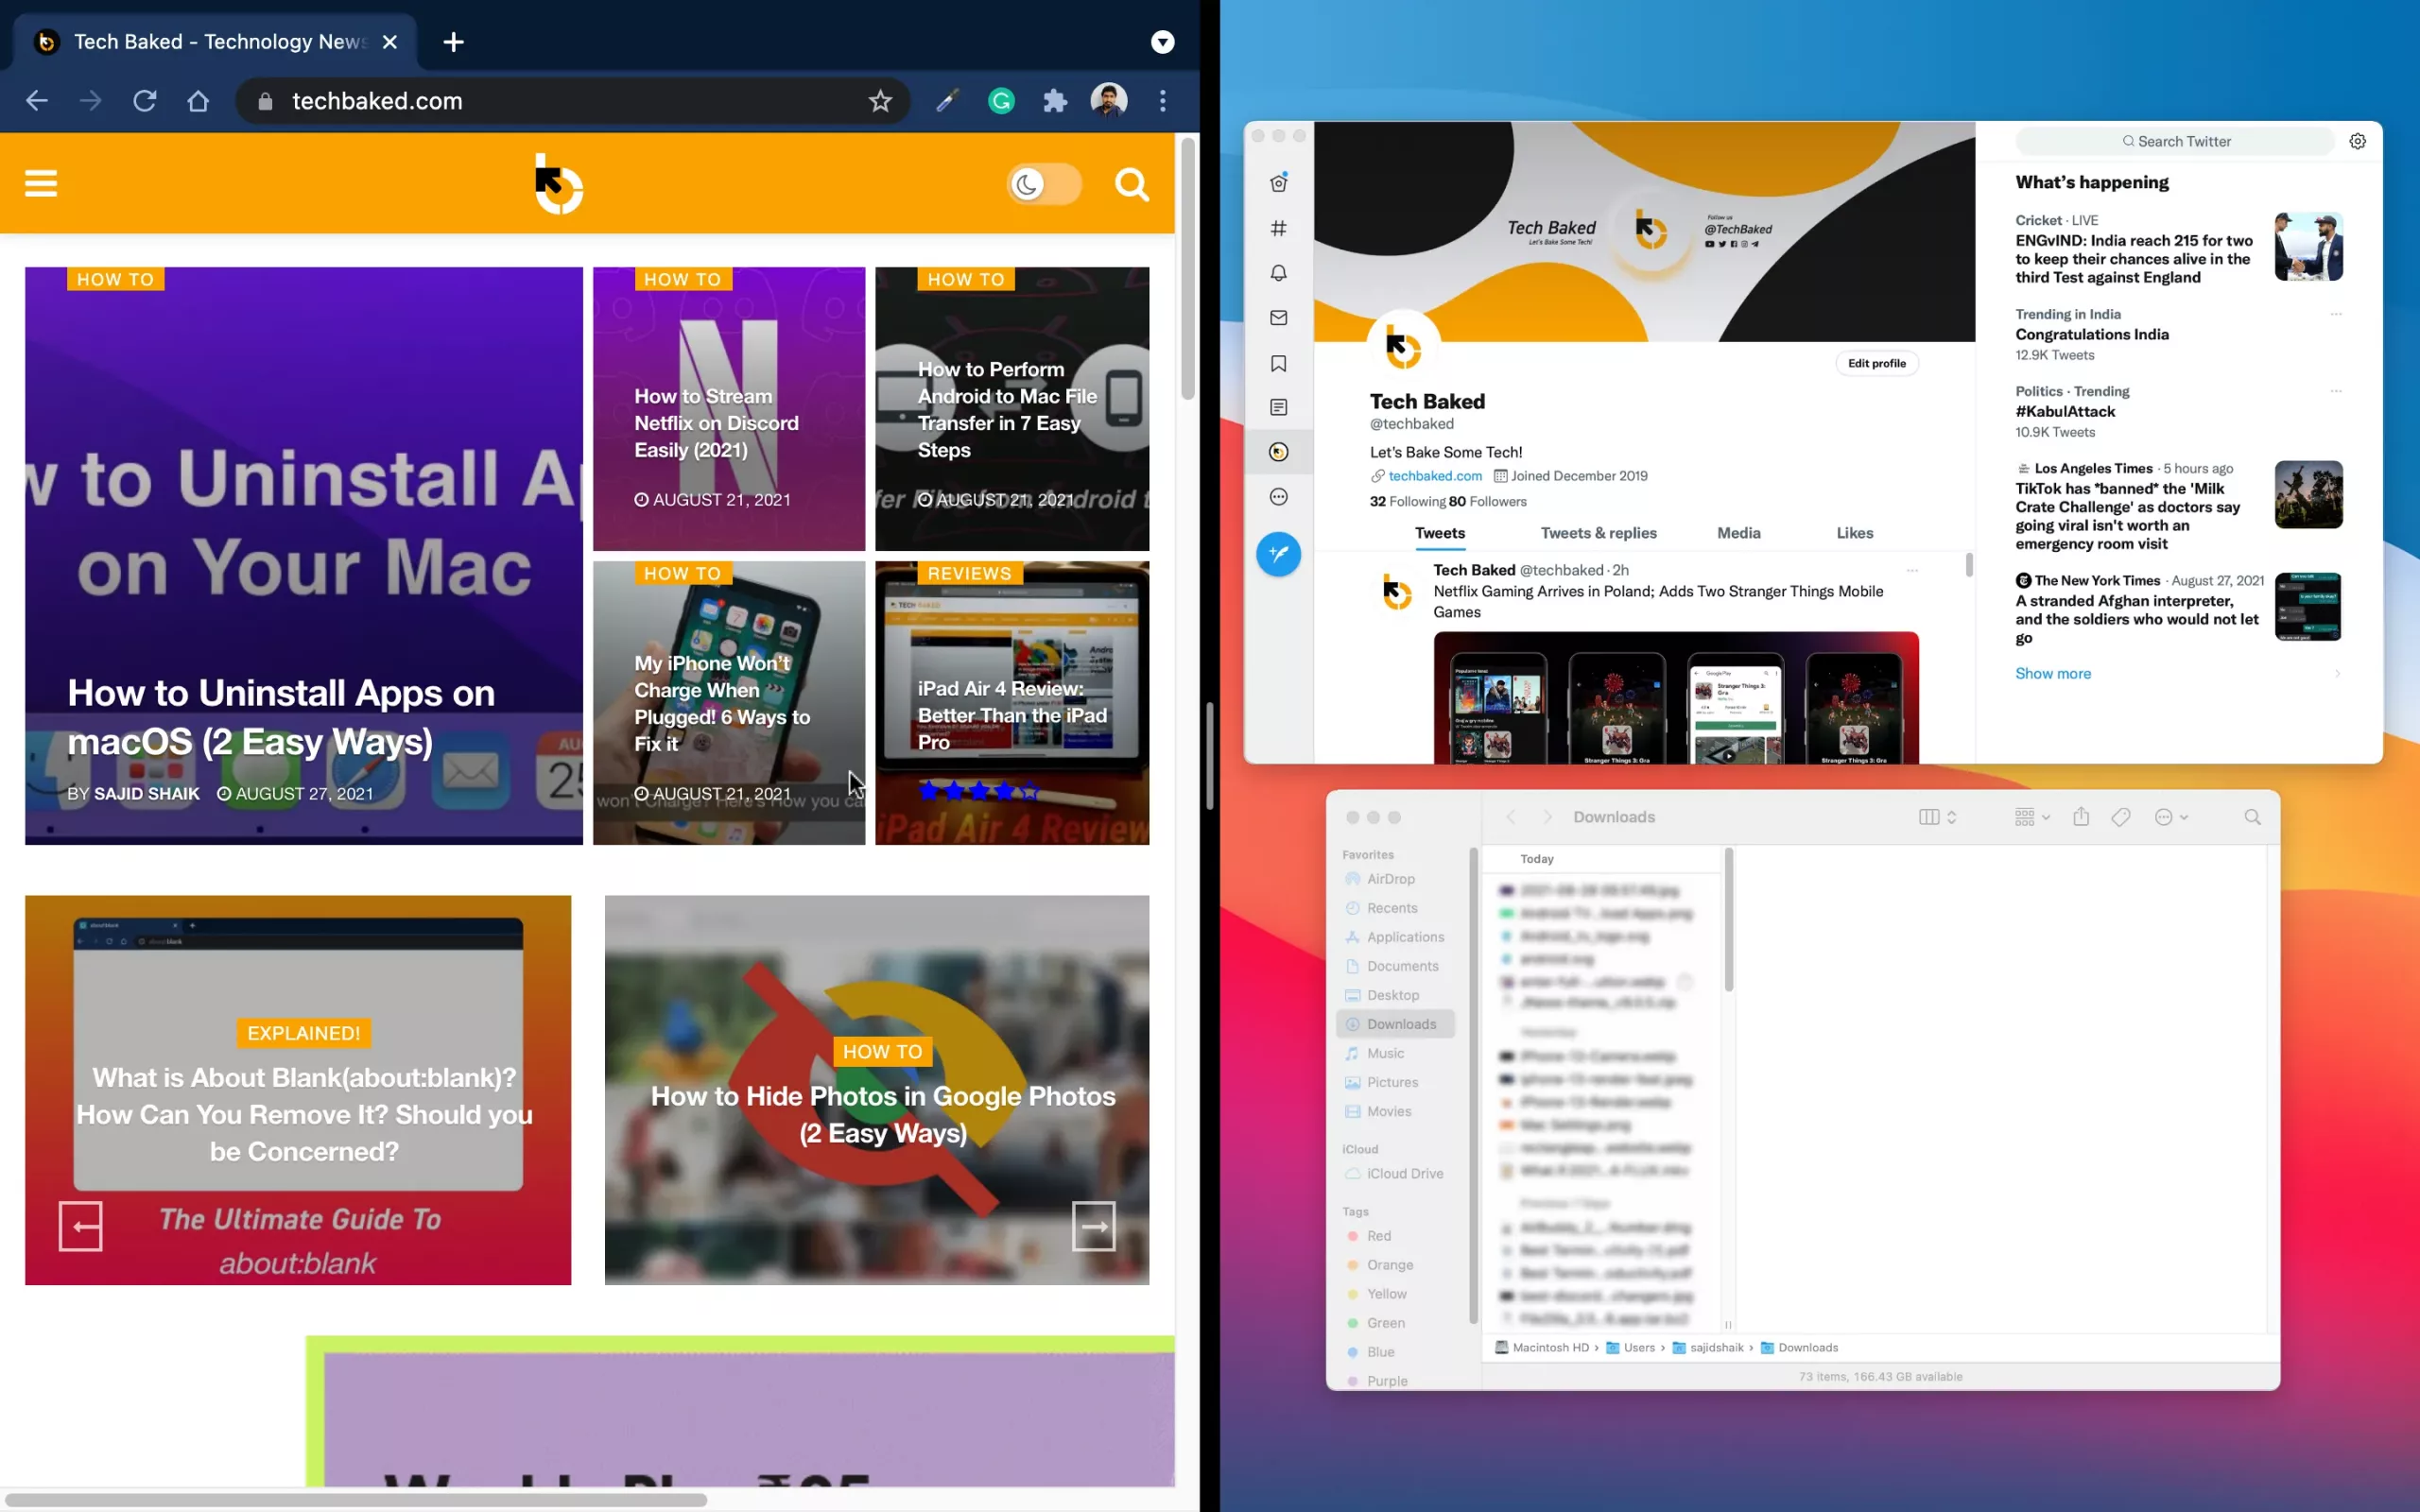
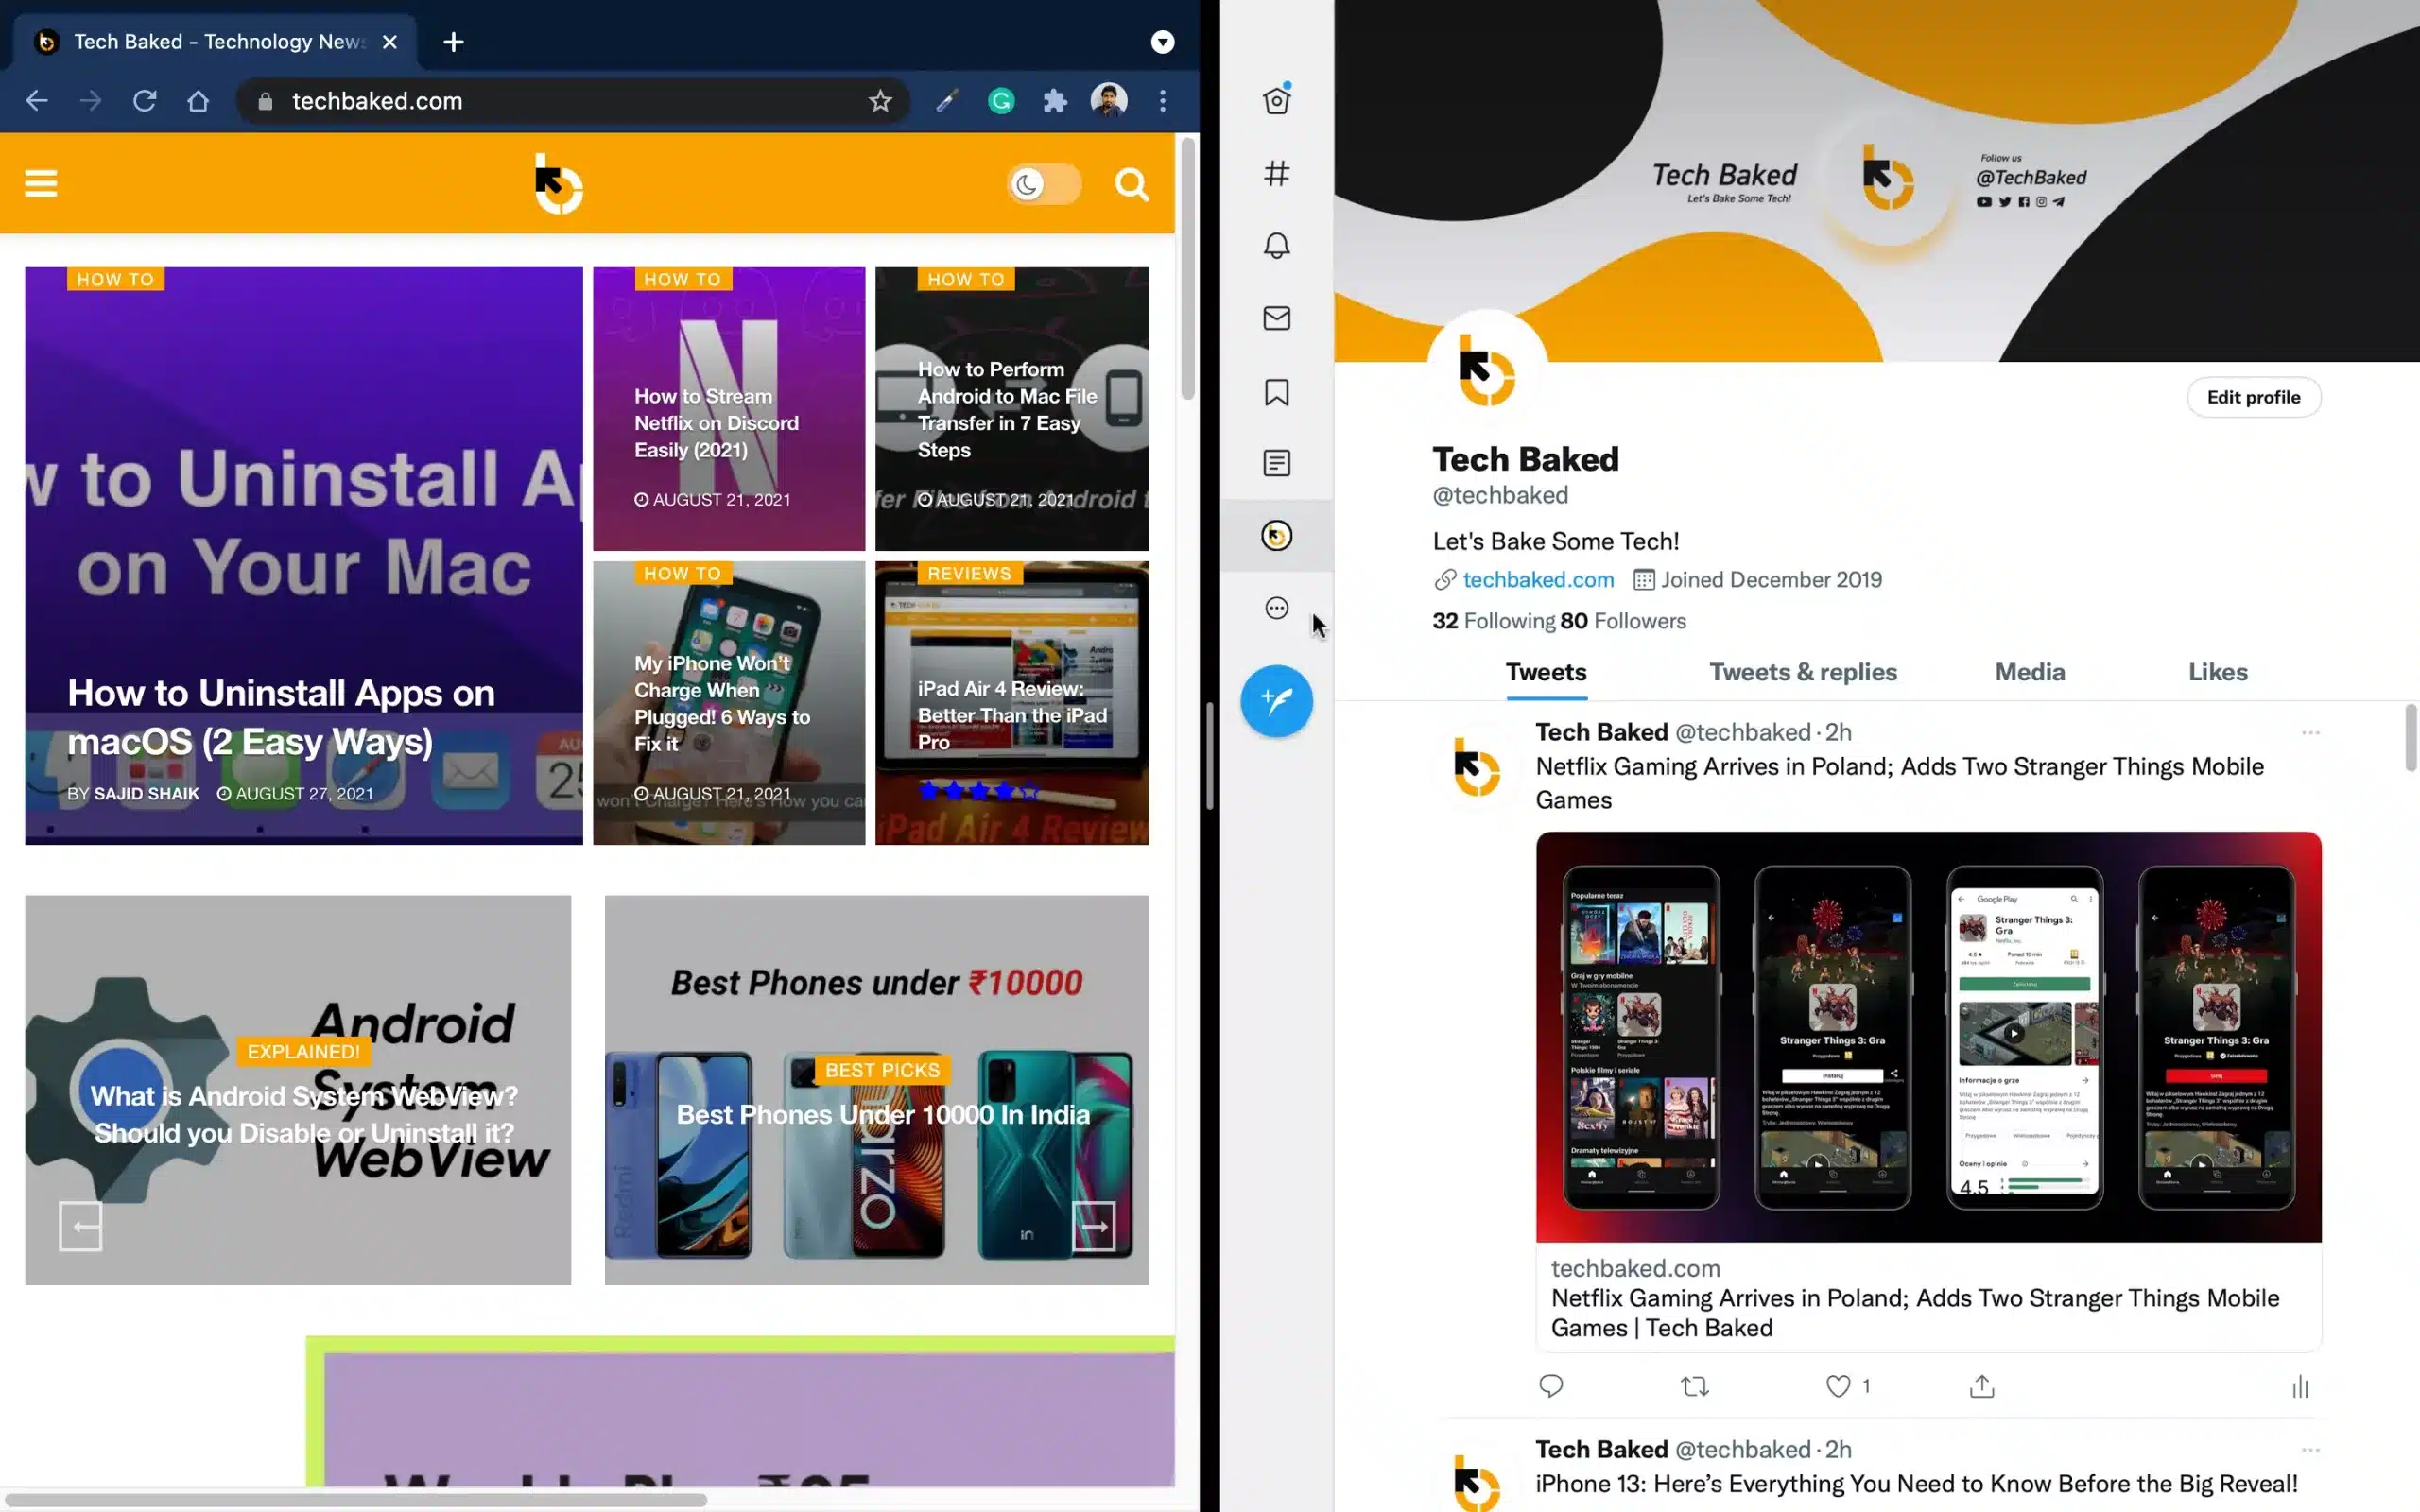
How to work in Split View Mode on macOS
There are certain advantages of using the Split View on macOS. Given that you can work without any distraction, there’s more to it.
- You can choose any window among two windows by clicking on any of them.
- The app will go full-screen and thus, your menu bar will be hidden; leaving you with no distractions. Hovering on top of the screen will show the menu bar again.
- You can swap the position of these windows by dragging one over another.
- By dragging the vertical line between the two apps, you can adjust their widths.
- Switch to other Desktops or apps on other Desktops by using the four finger left or right-swipe gesture.
Exit Split View on macOS
If you want to exit out of the Split View mode on macOS, you can follow these steps to do that:
- Hover your mouse pointer to the top of the screen to see the buttons on top-left corner.
- Click on the Exit Full-Screen button on any of the window. That window will exit the Split View mode.

- The other window will switch to full-screen on another desktop. You can switch to other Desktops by using the four finger left or right-swipe gesture.
Using these methods will make two apps in split screen on Mac. While the split screen on macOS is efficient, it needs to be in full-screen mode, or else you’ll have to use the same old resizing windows to get two apps into the Split screen on Mac.
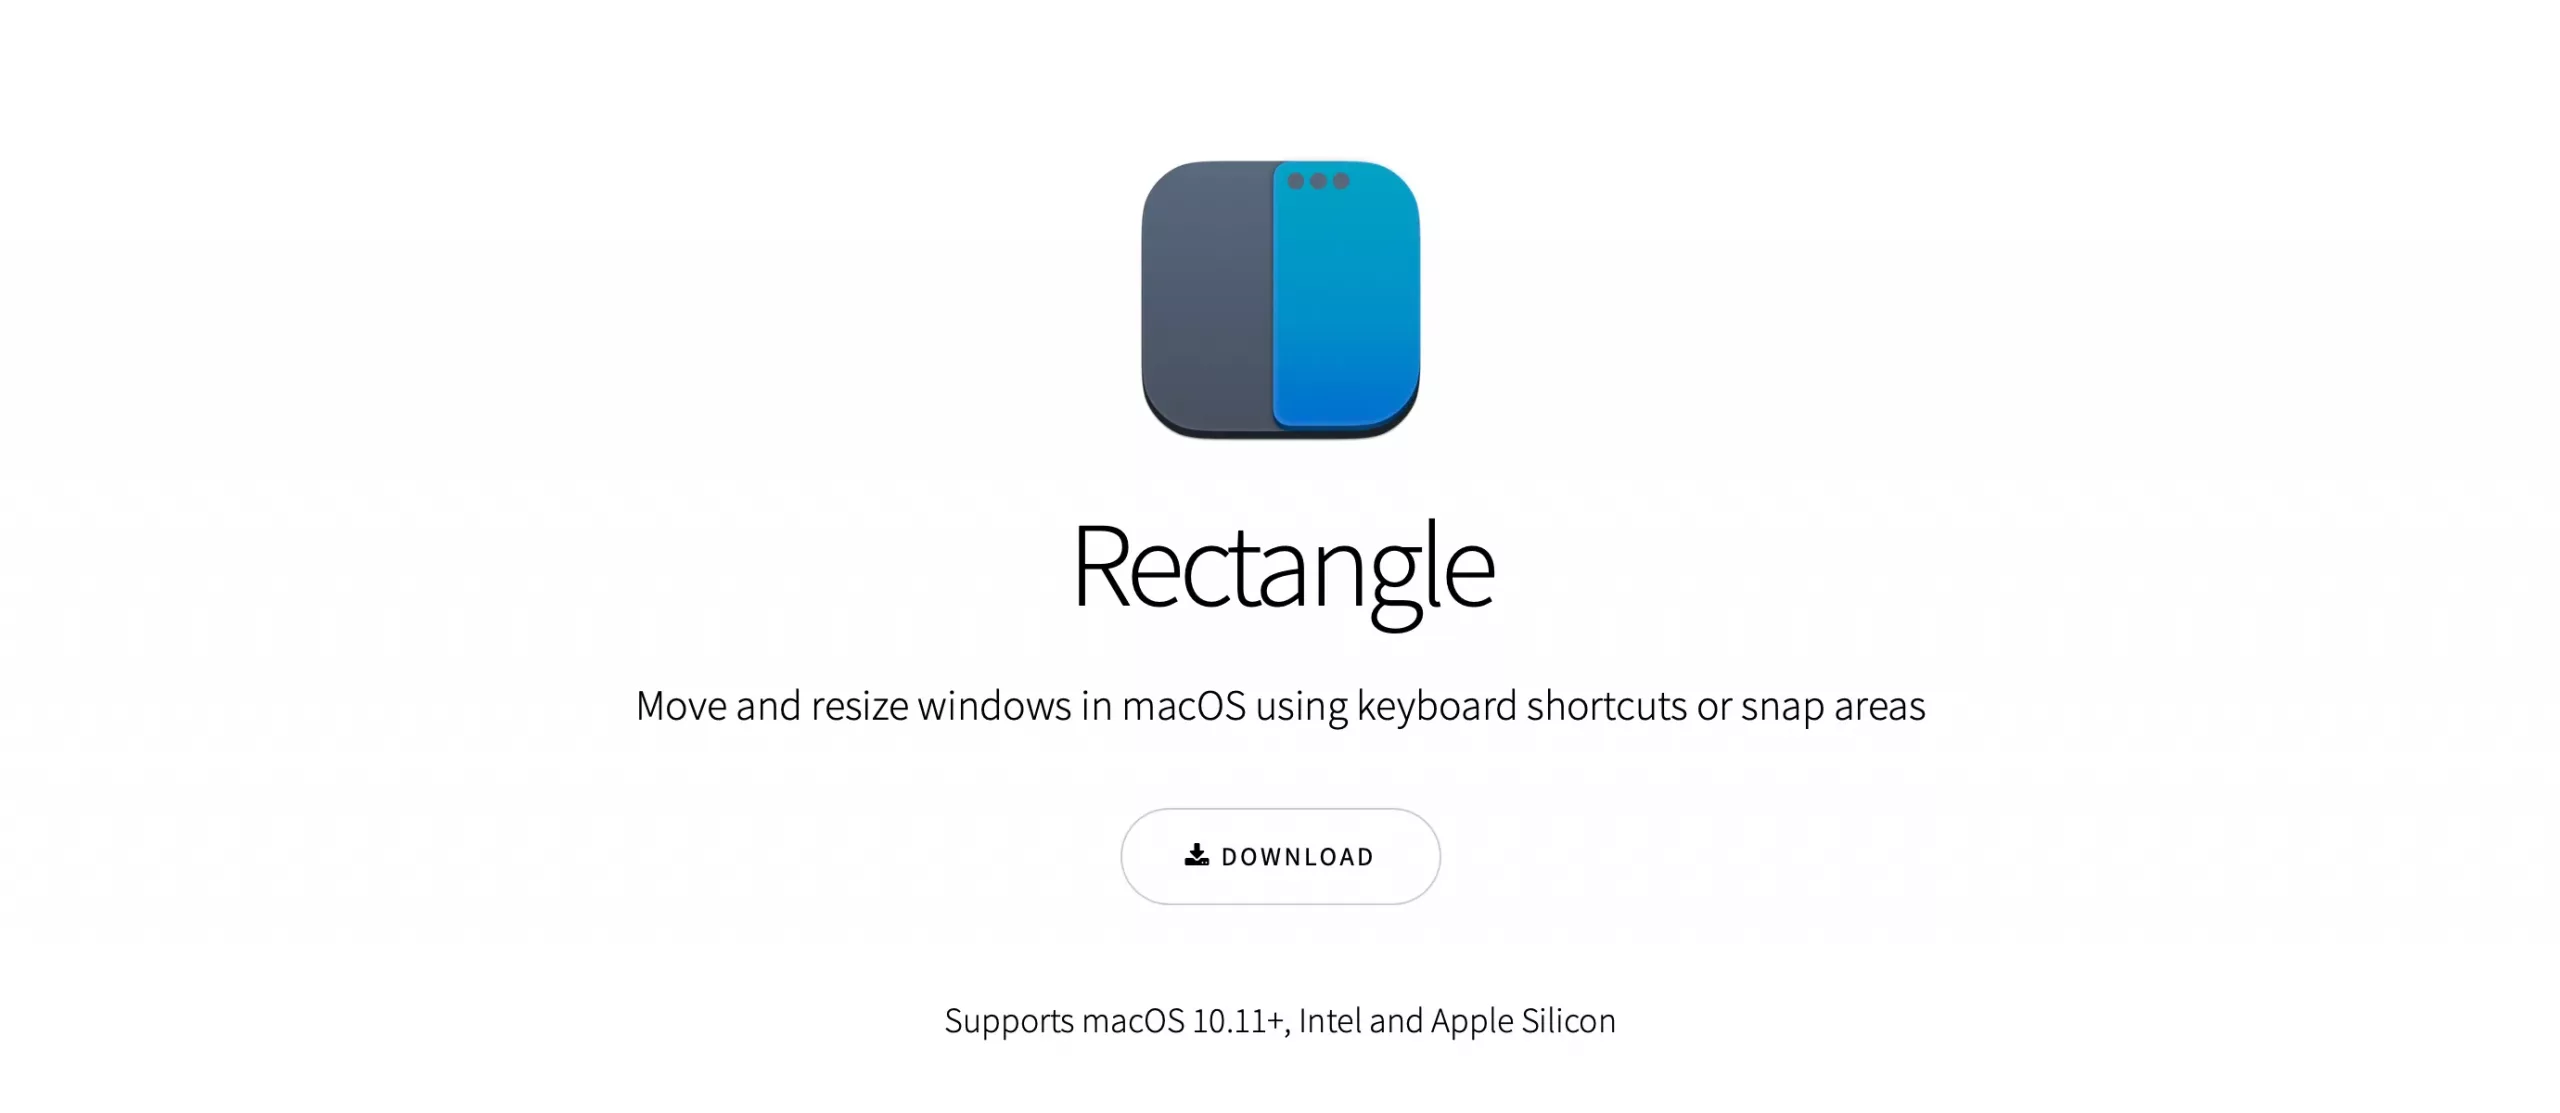
2. Using Third-Party Apps (Rectangle App)
If you don’t want to use Full-Screen Split View, instead want a snapping tool similar to Windows, you can use a free Rectangle app. Although there’s the Magnets app available on App Store, the Rectangle does the same job free of cost.
To get a Windows-like split screen on macOS or snapping windows on macOS, follow these instructions below:
- Download Rectangle app and open it.
- Drag the Rectangle application to the Applications folder. And close the window.
- Open Rectangle app and give it necessary permissions to proceed further.
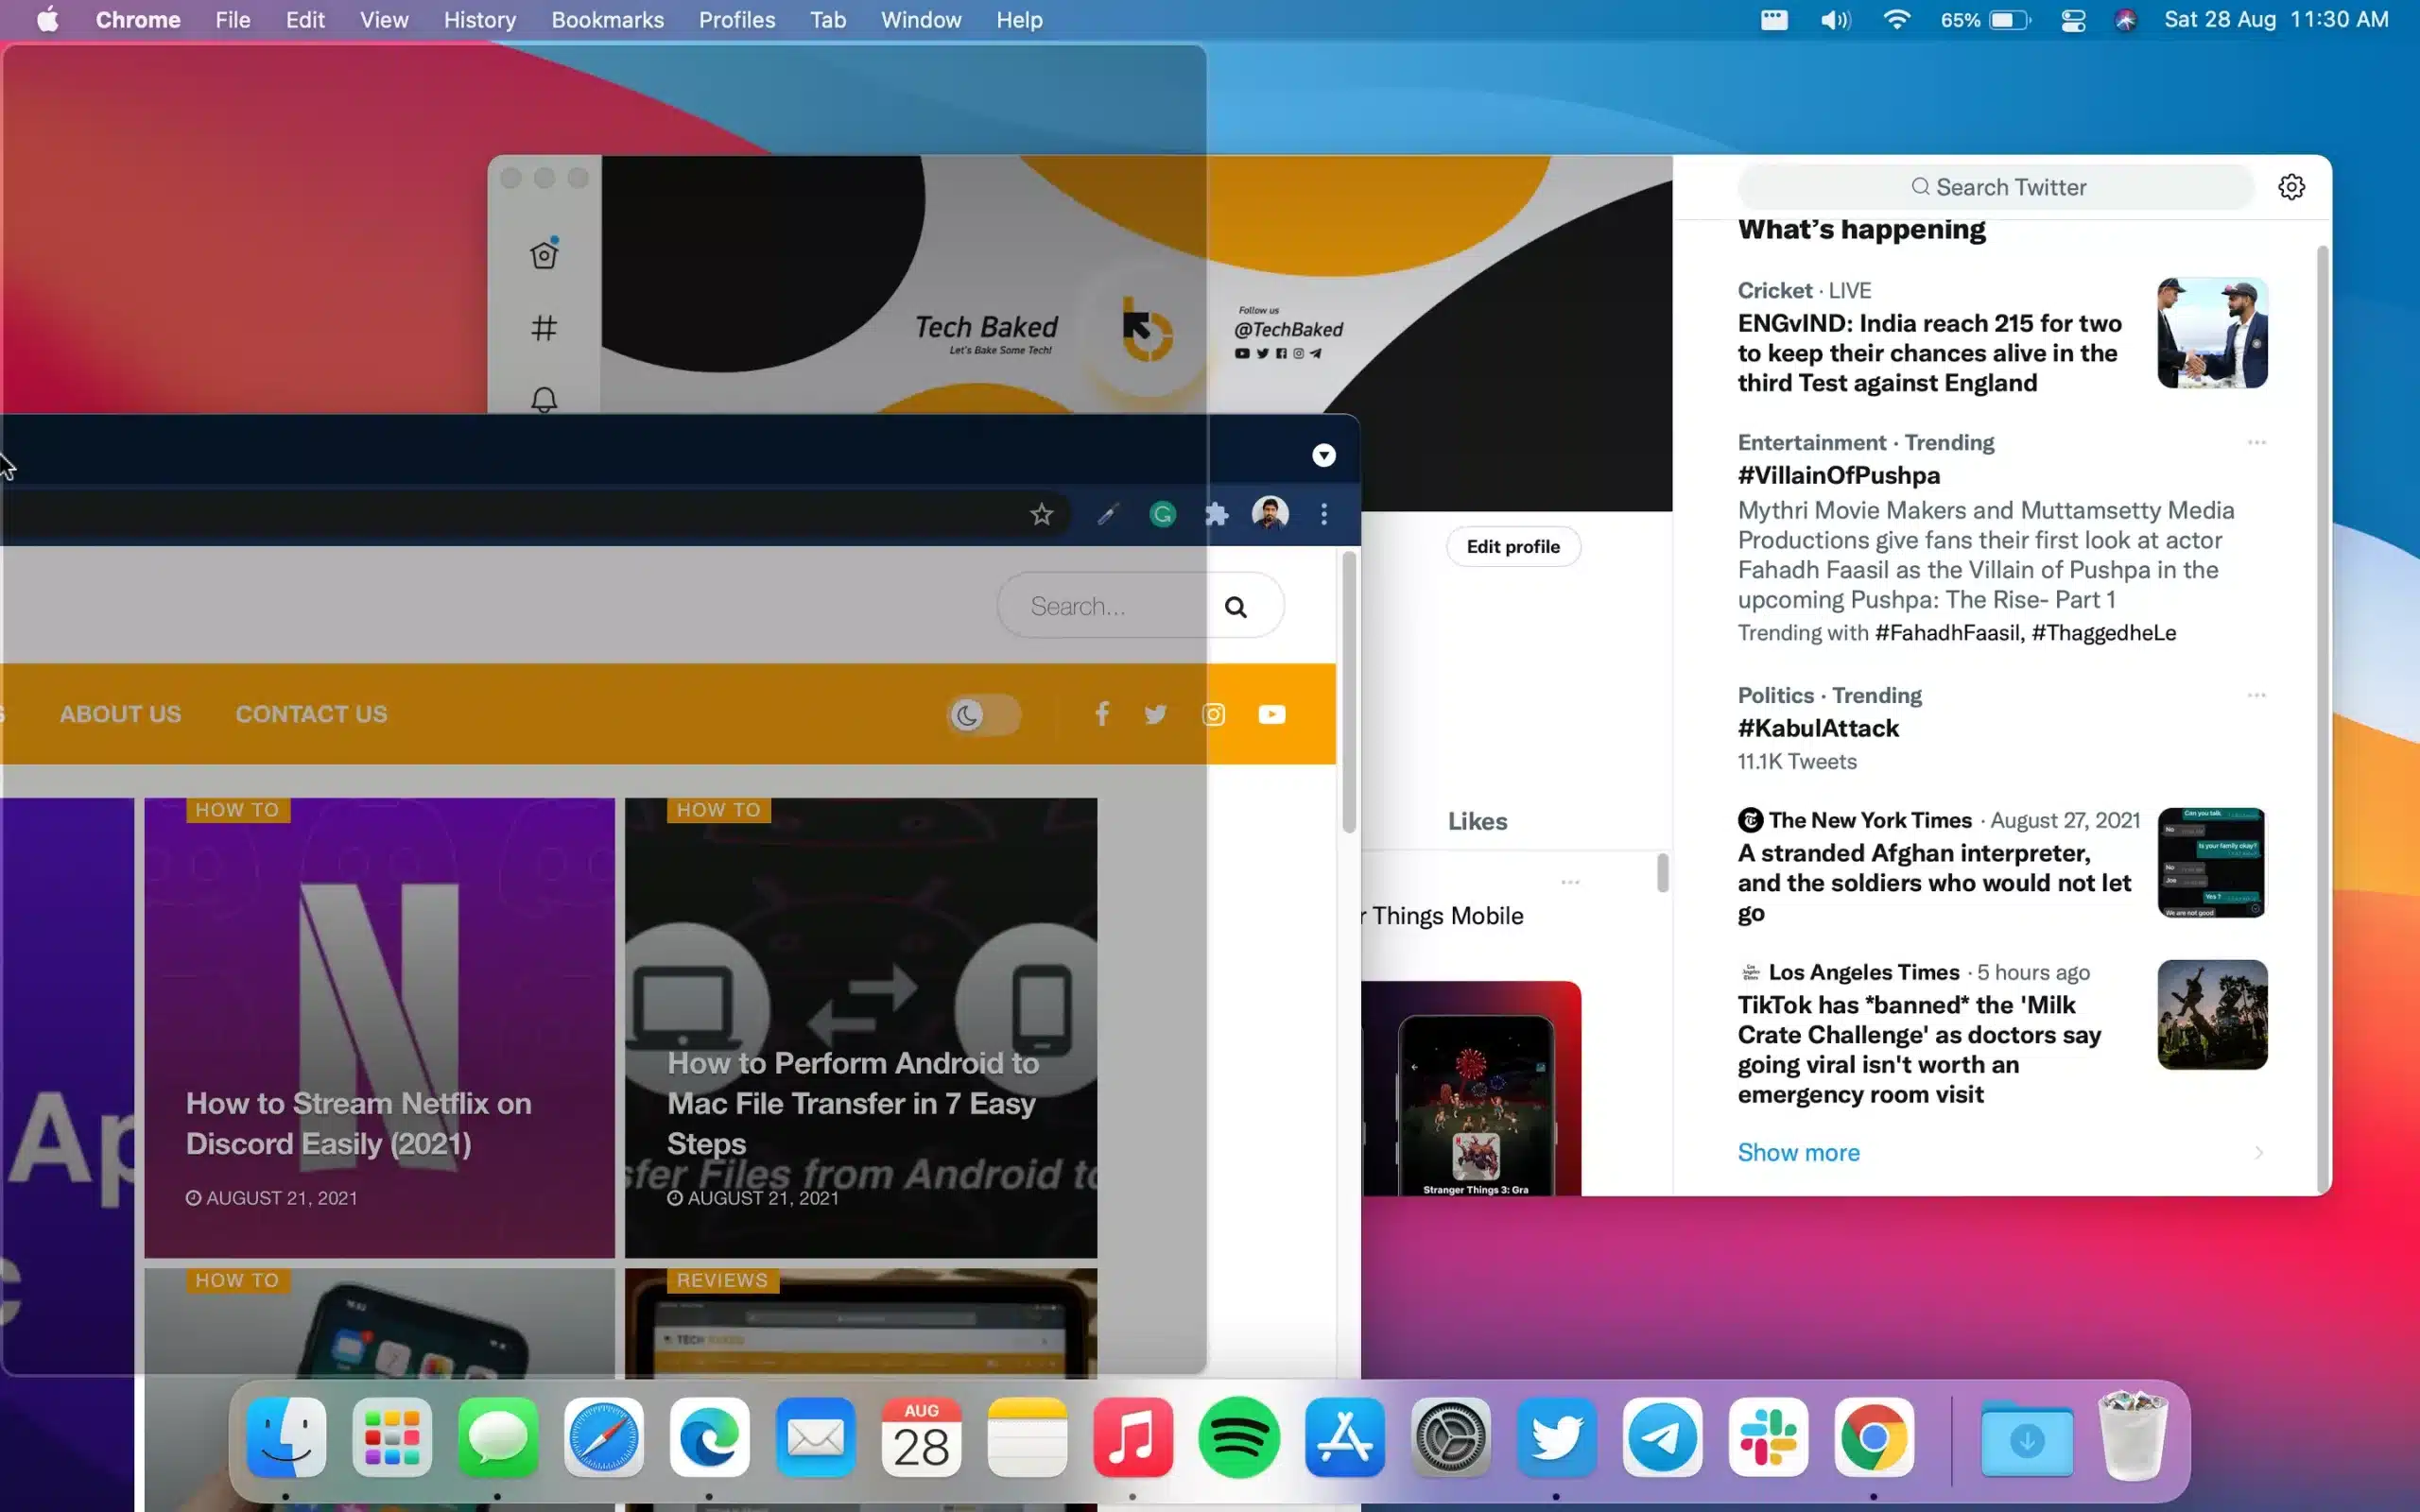
- Once installed, drag the top of the window to the left or right side until you see a translucent window.
- Release the window, and the window will get snapped without getting you into fullscreen mode.
- You can do the same for other window and drag it to the other side.
Now you can split screen on macOS with the Rectangle app. To ease your work, you can learn the keyboard shortcuts of the Rectangle app to get into a split screen on Mac much quicker. Here are some handy shortcuts for the Rectangle app.
- Option + Control + Left arrow key — Snap window to the left
- Option + Control + Right arrow key — Snap window to the right
- Option + Control + Return — Maximize the window to fit without going fullscreen
- Option + Control + U — Snap window to the top-left
- Option + Control + I —Snap window to the top-right
- Option + Control + J —Snap window to the bottom-left
- Option + Control + K — Snap window to the bottom-right
If you’ve switched from Windows, the Rectangle app is a handy tool. Support the developer (if possible) for bringing such an amazing app to get it into the split screen on Mac
However, if you don’t like the Rectangle app after installation, you can uninstall the app from your Mac.
Conclusion
Coming to macOS from Windows will need a little bit of a learning curve. Split screen on Mac is one such thing that usually people get confused about. You can use the Split View option on Mac or get the Rectangle app to use the Split Screen mode.
However, instead of split-screening or Split View, you can use Mission control to better your workflow. You can access Mission Control by a three-finger swipe-up gesture.
Another way of getting around Split-Screen is to use the two apps in full-screen mode. This will allow you to use those two apps side by side. You’ll need a four-finger swipe gesture left or right to switch between desktops/full-screen apps.
YOU MIGHT ALSO LIKE: