When you want to print a document using Google Docs, there’s more to look, other than the content. To print a document using Google Docs, you should take a look at your text. The text includes elements like spacing between lines, paragraph style, course, and margins.
These are the key elements to have a good document. They can be important for preparing essays, or other documents. Among those elements, we will show you how to change margins in Google Docs document.
How to Adjust Margins In Google Docs Online
There are three methods to adjust or change the margins in Google Docs online. All of these methods are easy enough; you can choose whichever you would like to use.
Method 1: Change Margins in Google Docs using Ruler
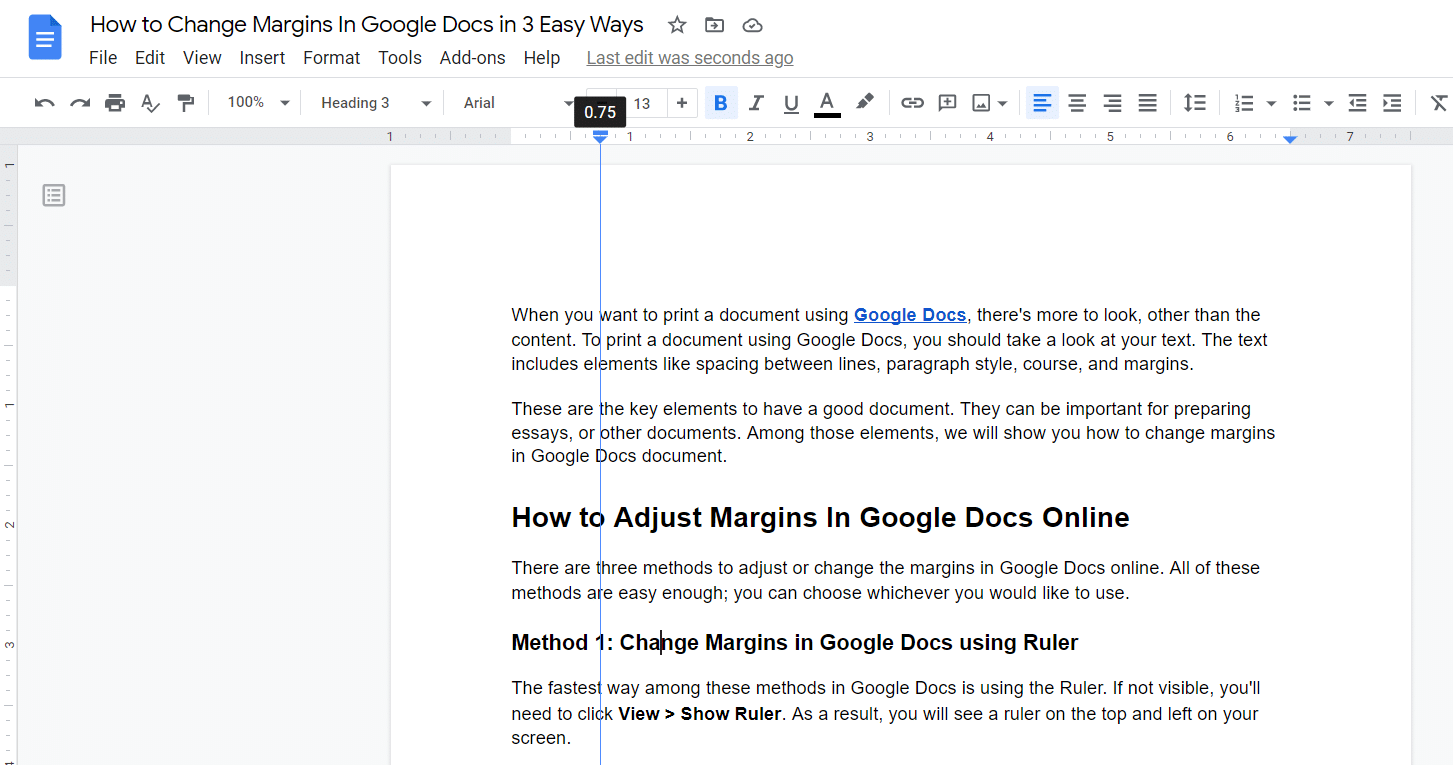
The fastest way among these methods in Google Docs is using the Ruler. If not visible, you’ll need to click View > Show Ruler. As a result, you will see a ruler on the top and left on your screen.
To change the left margin, click on the Left Indent (small rectangle/triangle icon), located on the left of the top ruler. A vertical blue line will appear.
Drag the Ruler inwards or outwards to change the left margin. Make sure that you don’t drag the rectangle and triangle separately. If you drag them separately, it will move the paragraphs only.
To adjust margin, you can select the whole document using Ctrl + A on Windows or Cmd + A on Mac. Then, drag the rectangle/triangle icon. This will change margins in Google Docs for the entire document.
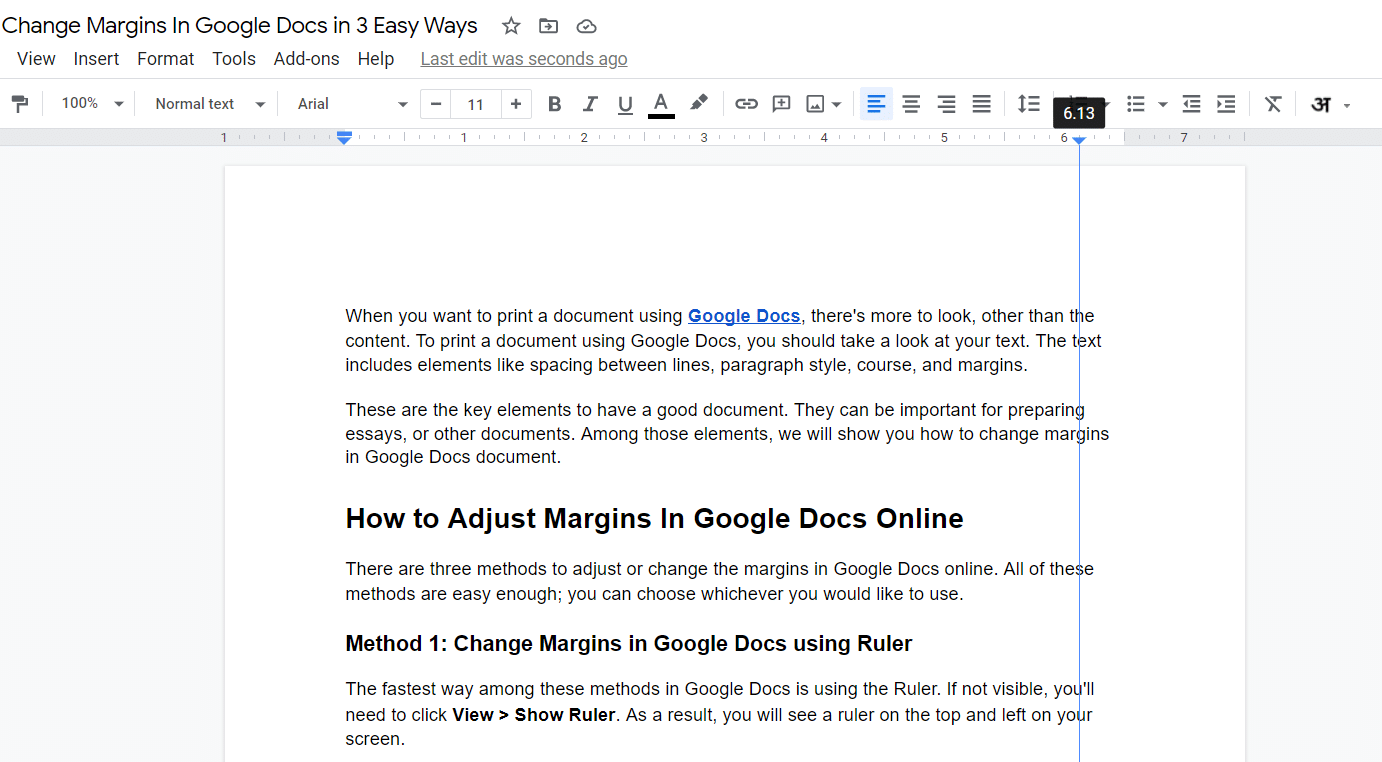
Similarly, you can also adjust the right margin using the right indent (small rectangle/triangle icon) instead of the left one.
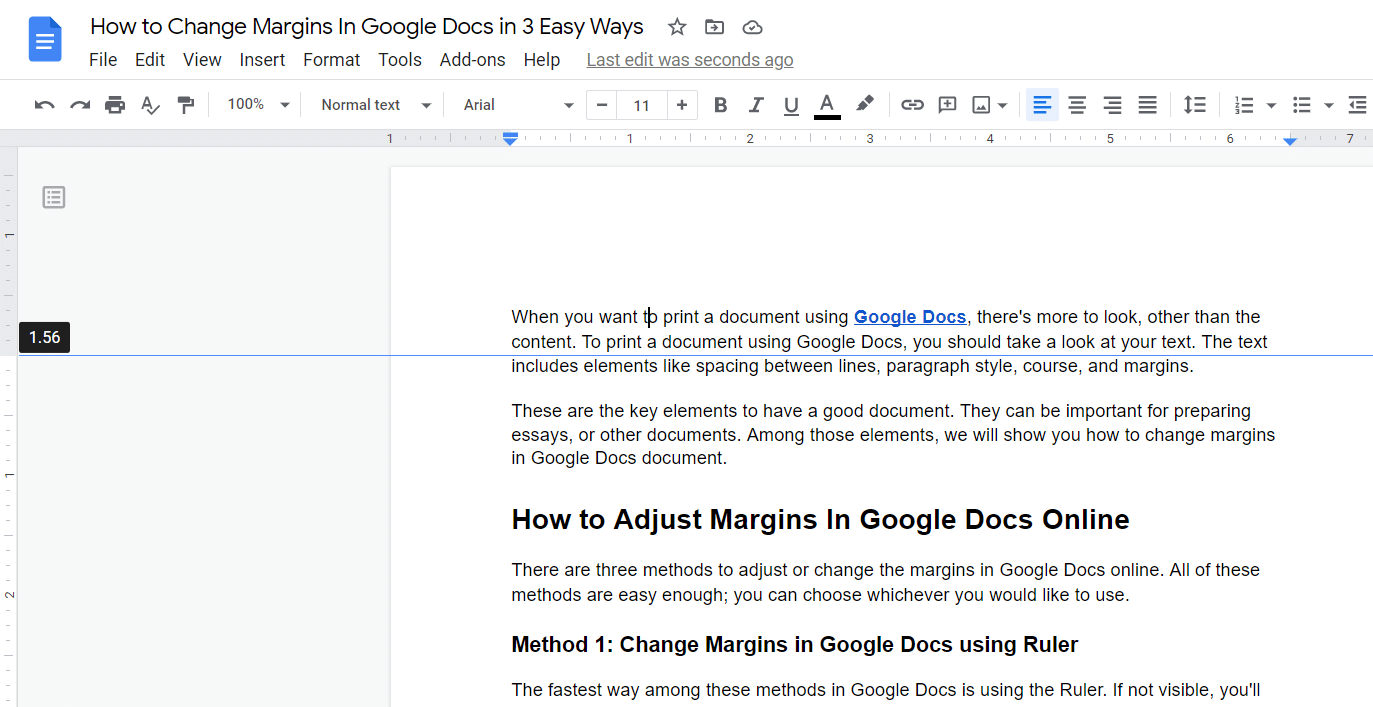
To change the top and bottom margins, hover your mouse over the point where white and gray shades meet on the left ruler. Once you click and drag from the point, you will see a dark blue line. Dragging it upwards will decrease the top margin, and downwards will increase the top margin.
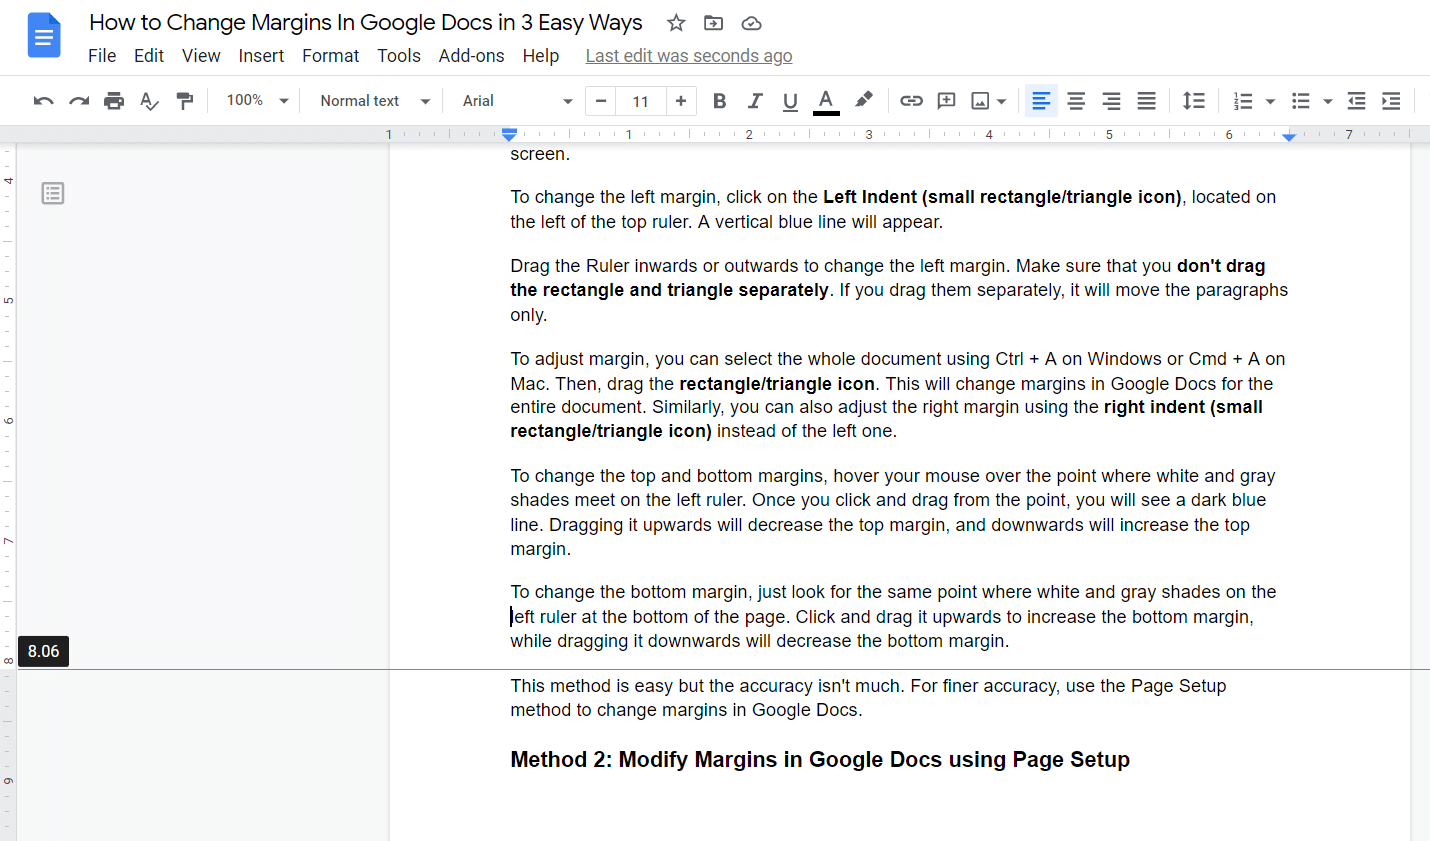
To change the bottom margin, just look for the same point where white and gray shades on the left ruler at the bottom of the page. Click and drag it upwards to increase the bottom margin, while dragging it downwards will decrease the bottom margin.
This method is easy but the accuracy isn’t much. For finer accuracy, use the Page Setup method to change margins in Google Docs.
Method 2: Modify Margins in Google Docs using Page Setup
Page Setup is a more accurate method to change margins in Google Docs. If you want to use accurate margins, like 0.8-inches for example, it’s best to use the Page Setup. Here’s how you can change the margins in Google Docs using Page Setup method:
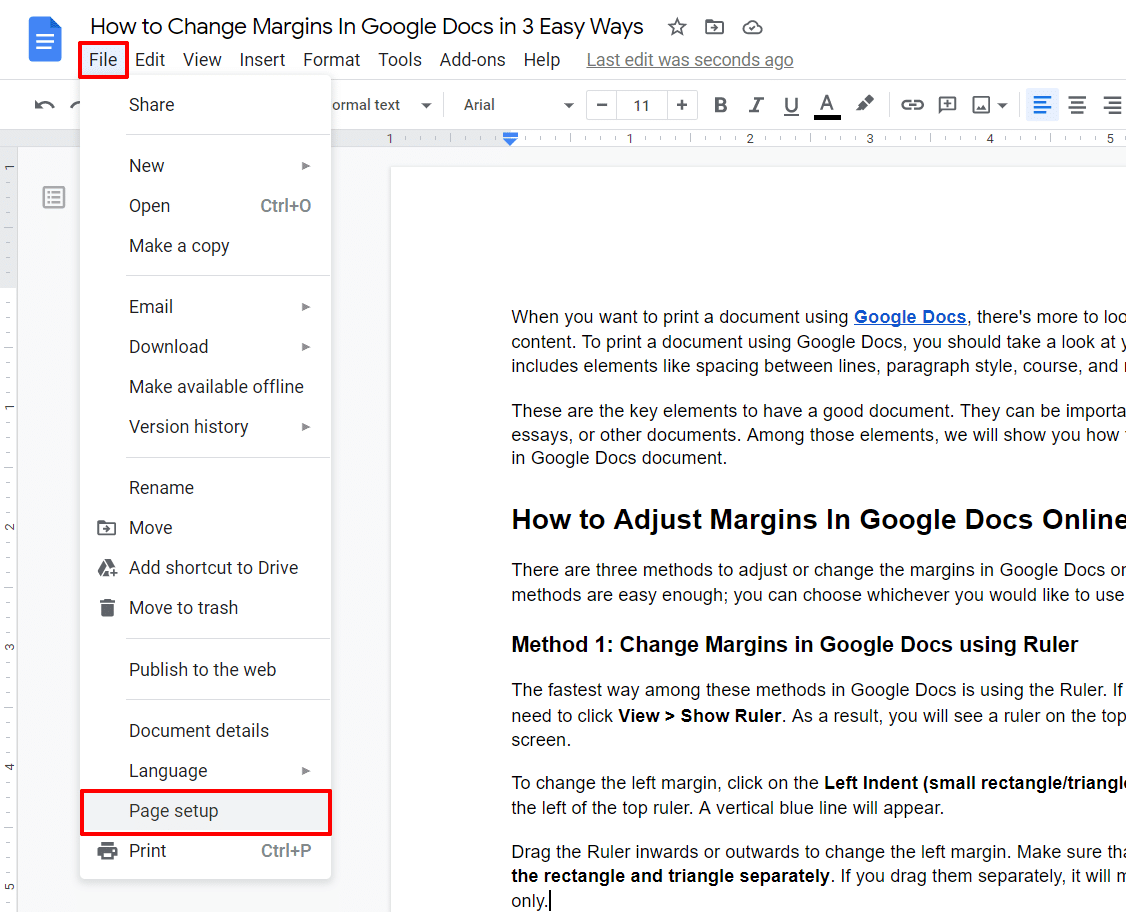
- Open the Document and click on the File menu and select the Page Menu option underneath.

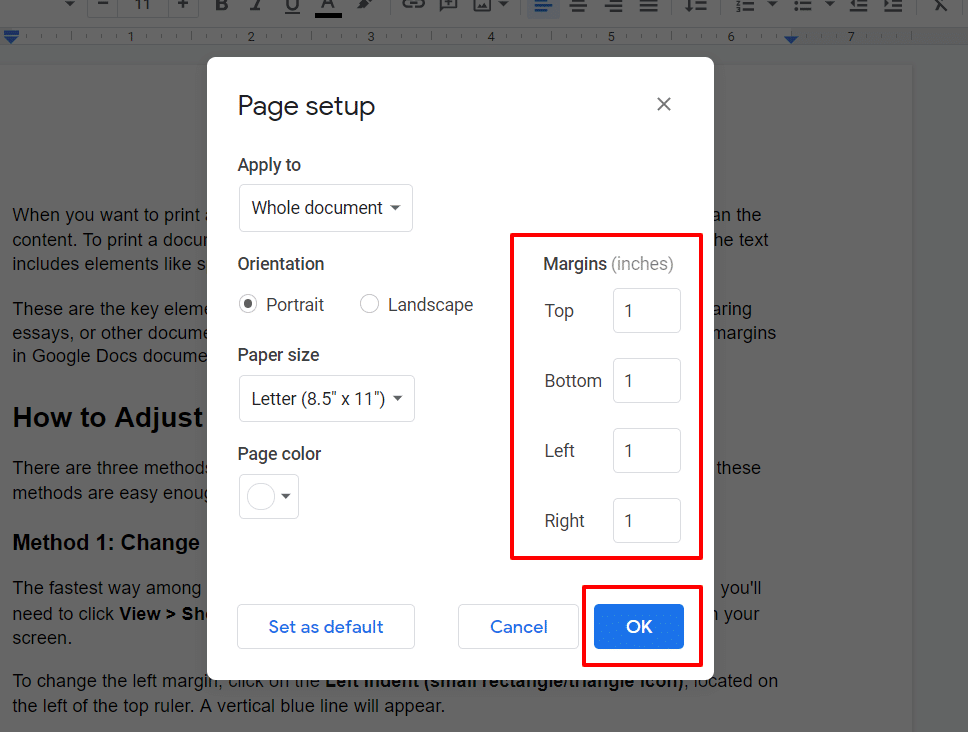
- Enter the required measurements located under Margins. You can insert values for top, bottom, left, and right margins.
- Click OK to apply the Margin values.

You can also use the Page Setup method to change margins in Google Docs app as well.
Method 3: Changing Page Size in Google Docs to Change Margins
If your printer supports a specific page type for printing, Google Docs can set the margins as per the page layout. Whether it be Letter size, A4, A3, or any other Page size, Google Docs can do it for you. To change the Page size in Google Docs, follow these steps:
- Click File on the menu.
- Select the Page Setup option.
- Click the Paper Size option and choose the one required for your printing.
- Click OK to apply changes.
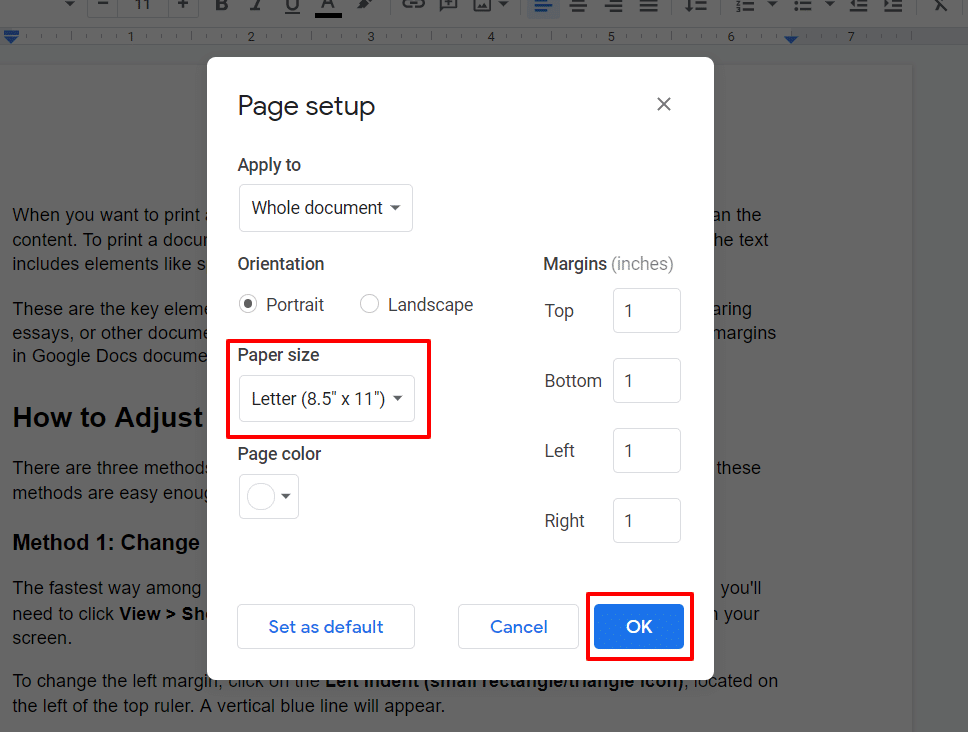
The document preview will adjust the page according to the selected paper size.
Set Default Page Margins Google Docs
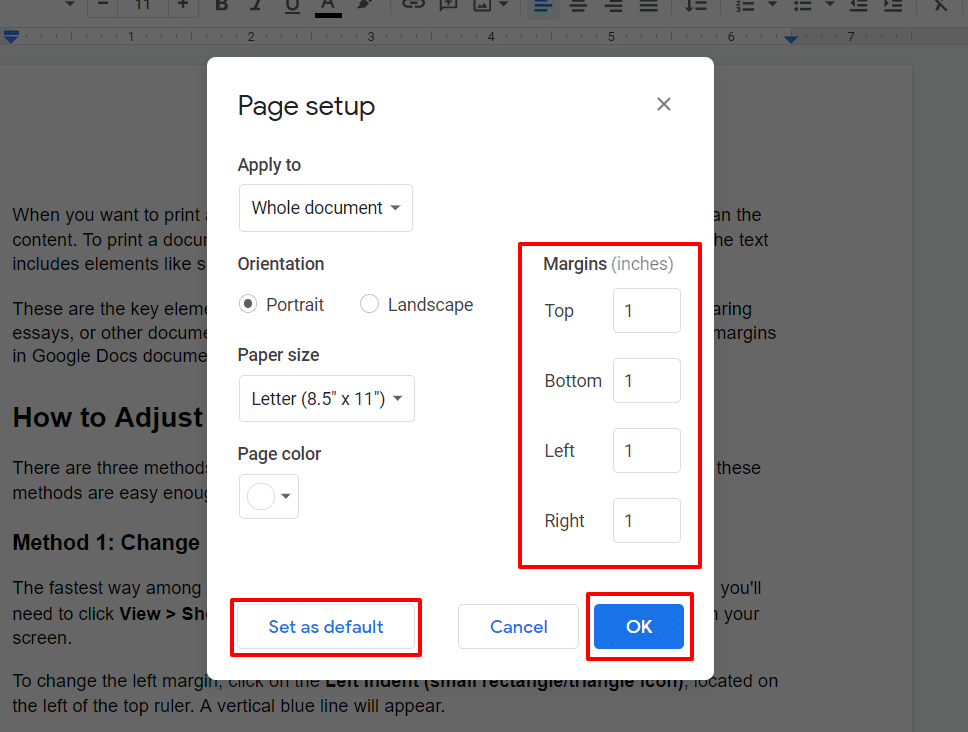
Page Setup in Google Docs uses 1-inch on each side as default margins. You can set custom margin values as default for all pages. Here is how you can do it:
- Click on the File menu and select the Page Menu option underneath.
- Enter the required measurements located under Margins. You can insert values for top, bottom, left, and right margins.
- Click Set as Default.
- Click the OK option to set default margin values for all pages.
Also, you can head over to File > Page Setup to verify Margins whenever you create a blank document next time.
Concluding Change Margins in Google Docs
We hope these three ways helped you to adjust or change margins in Google Docs. When it comes to changing the margins, Google Docs offers different methods. The ruler might be super-handy, and inaccurate at the same time.
If you use Page Setup, the accuracy escalates. Depending on your needs, you can use whatever option works the best for you. Let us know if you got any questions or suggestions, we’ll try to answer them as soon as possible.
Read Next:
- 4 Best Ways Stop Automatic Updates on Windows 10 Permanently
- How To Fix WHEA Uncorrectable Error (0x0000124) on Windows 10 Easily
- 6 Tested Ways To Fix External Hard Drive Not Showing Up
- 5 Simple Ways to Fix Google Play Services Keeps Stopping
- What is “System Interrupts” Process and How to Fix High CPU Usage Caused by System Interrupts